
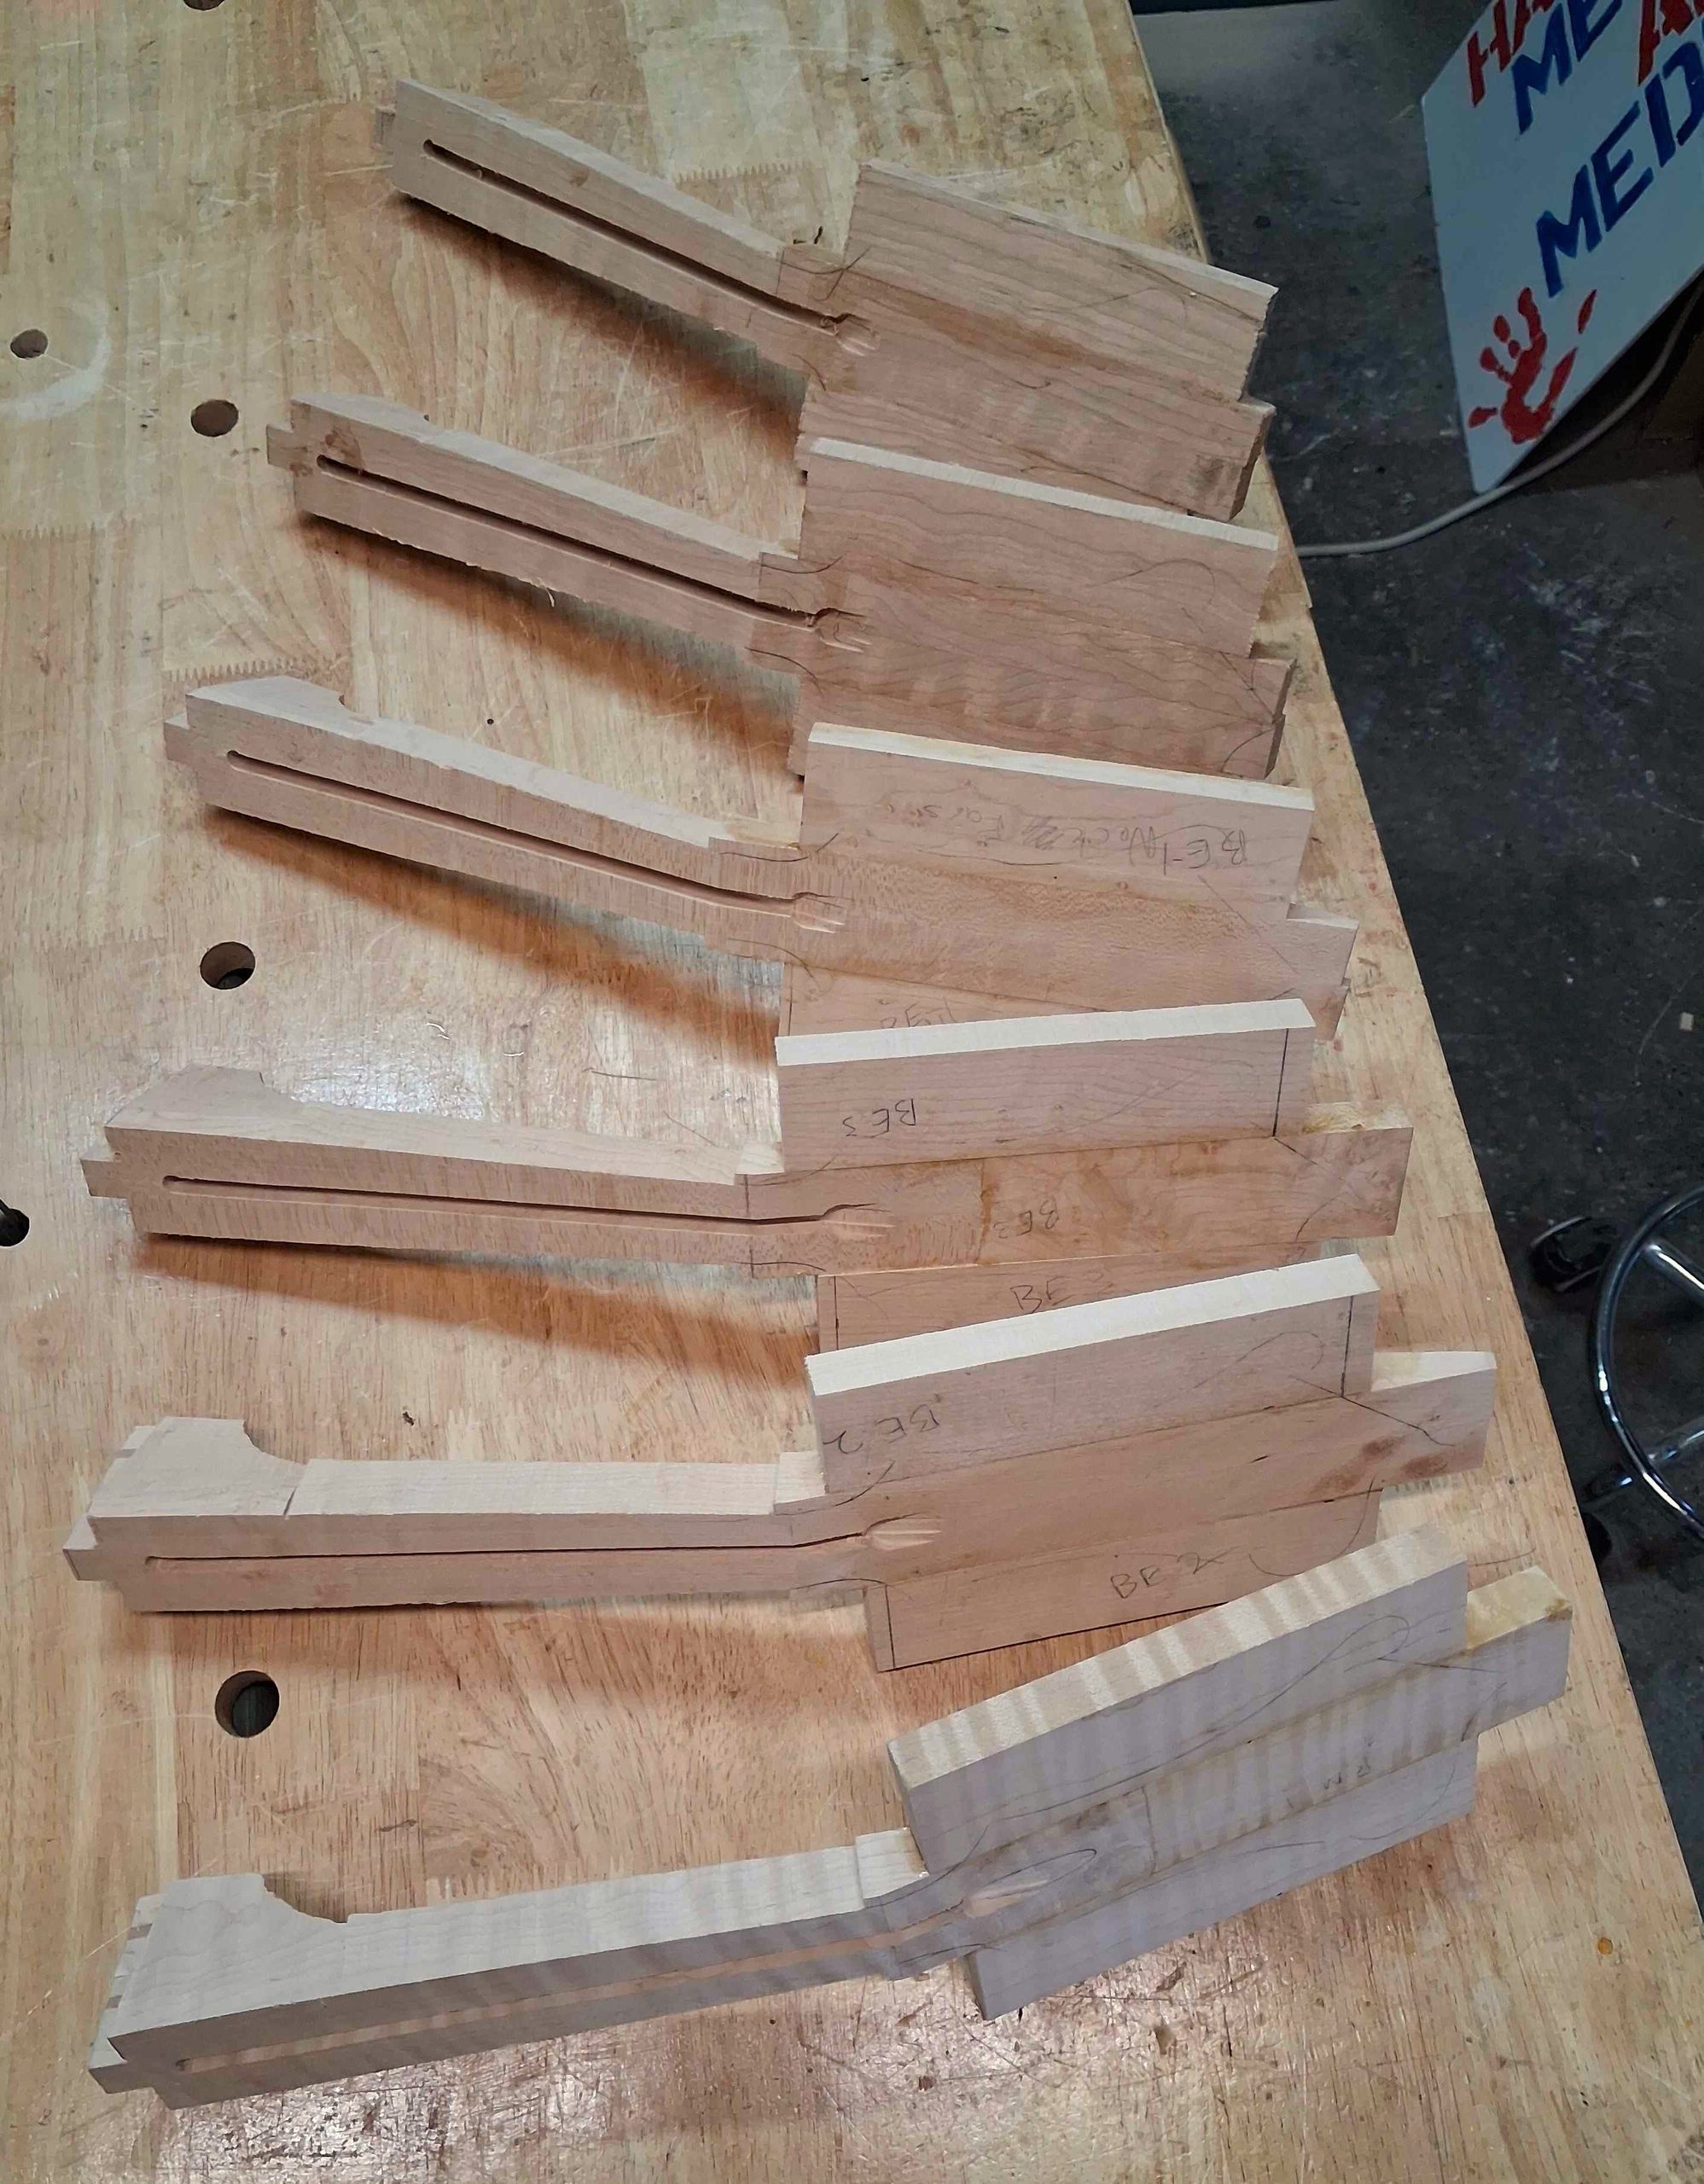
I’m excited to have started my next batch of 6 mandolins with a goal of completing them in spring, 2027. Four of this batch are already sold and 2 are awaiting owners. Let me know if you’re interested, or know someone who is!
My building schedule begins with necks, because this is the most painfully complicated part of the entire instrument. I first glue together 2 pieces of maple for the shaft of the neck. The 2 halves come from the same piece of wood, but I flip one end for end so that its grain runs counter to the other to minimize the possibility of shifting or warping over time.

Three passes of a radial arm saw at a 5 degree angle, 2 passes on a band saw and 4 passes on a router table produce a tenon on the heel end of the neck which will hold it at the proper angle to the future body of the mandolin.

Holes are drilled into this tenon so the neck can be temporarily bolted to the body during construction and testing.

Back at the router table, a channel is cut for the truss rod which will help keep the neck straight.

Shaping the neck includes cutting a 12.5 degree angle for the head and cutting out the profile on the band saw.

Finally, 2 “ears” are glued on to the head, and a rough taper is cut along the neck shaft.

They’re beginning to look like mandolin necks, but the blackwood peghead veneer and fretboard still need to be cut, inlaid, and attached. I’ll trim the maple neck blank flush to them, then carve the heel and neck shaft to the final shape requested by the customer. The tenon joint will get its final fit once the body is built, and it will be glued for added strength. Holes will be drilled for tuning machines, and a cover built and installed over the trussrod pocket.

Tired yet? As you can see, once the necks are completed, the rest of the build seems simple in comparison…except perhaps for the final detailing and finish. But that’s a story for another day!